Printing the Perfect Halloween Gummy Candy: A Guide to 3D Model Success
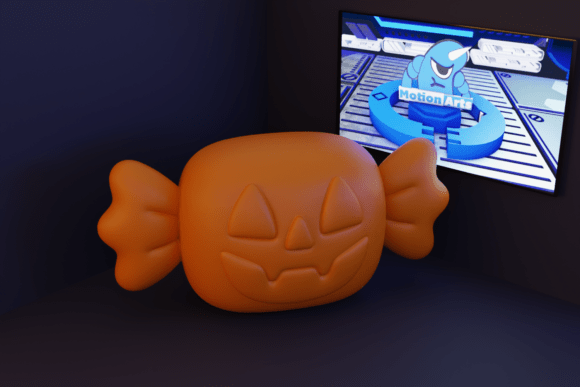
Halloween is a season defined by atmosphere, and few things capture the playful spirit of October quite like candy. Whether you are a hobbyist looking to add whimsical touches to your home decor or a professional creator designing dioramas for seasonal displays, the Halloween Gummy Candy 3D model offers a unique blend of cuteness and spooky charm. This digital asset allows you to bring sweetly terrifying designs into the physical world, bridging the gap between traditional treats and modern manufacturing.
However, moving from a digital file to a tangible object is not always straightforward. Many enthusiasts rush into printing without considering the nuances of material selection, orientation, or post-processing. These oversights can lead to disappointing results, wasted filament, or models that fail to capture the intended "cartoon" aesthetic. By understanding common pitfalls and adopting a more strategic approach, you can ensure your printed gummies look as delicious and detailed as the design intends.
Understanding the Appeal of Themed 3D Prints
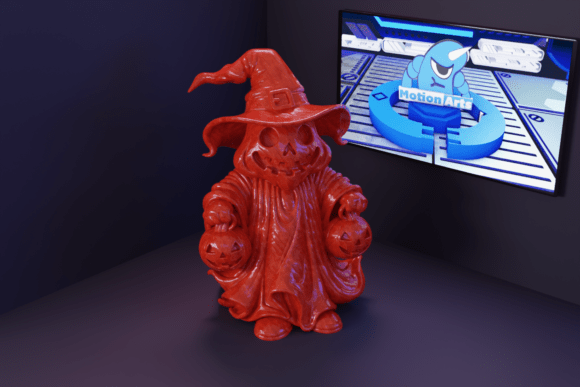
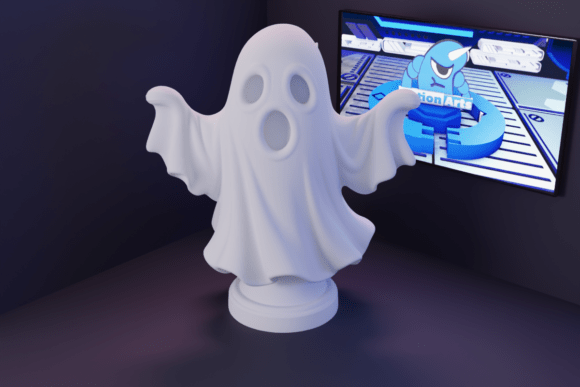
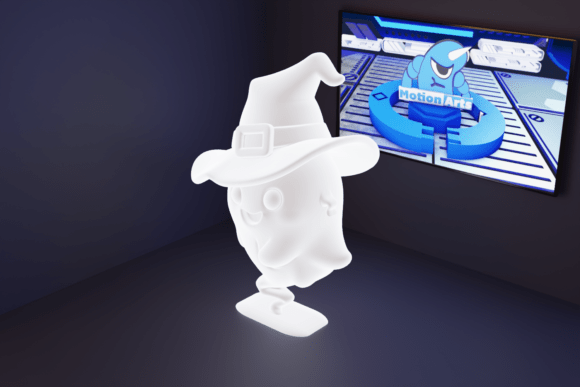
The concept behind the Halloween Gummy Candy model is simple yet effective: it merges the visual language of confectionery with iconic horror motifs. For collectors, educators, and small business owners, these prints serve multiple purposes. They can act as standalone decorative pieces, props for photography, or components in larger narrative dioramas. The appeal lies in the juxtaposition of innocence and terror—a ghostly figure encased in a translucent, candy-like form.
When evaluating such models, it is crucial to recognize that the value extends beyond the geometry. The optimized format mentioned in the file description suggests that the designer has already considered printability. Yet, many users overlook the importance of verifying these optimizations against their specific hardware capabilities. Assuming a file is "plug-and-play" without review is a frequent mistake that can compromise quality.
Common Mistakes in Printing Cartoon-Style Models
One of the most significant errors creators make is ignoring the specific requirements of cartoon-style designs. Unlike mechanical parts, which prioritize dimensional accuracy, artistic models like the Halloween Gummy Candy rely heavily on surface finish and visual flow. Here are several areas where beginners and even experienced printers often stumble:
- Neglecting Support Structures: The rounded, organic shapes typical of gummy candies often require careful support placement. Failing to use supports, or using too few, can result in sagging layers that distort the cute, chubby appearance of the candy.
- Inappropriate Material Choice: Using opaque PLA when the design calls for translucency can strip the model of its "gummy" essence. The visual flavor of the piece depends on light passing through the material, mimicking real gelatin.
- Overlooking Orientation: Printing the model flat on its base might seem logical, but it can create visible layer lines across the most prominent features. Rotating the model to minimize seams on curved surfaces is a better approach for high-quality displays.
These mistakes do not just affect aesthetics; they impact efficiency and cost. A failed print wastes time and materials, while a poorly finished piece may require excessive sanding and painting, negating the convenience of an "easy to print" file.
Choosing the Right Printer and Settings
The product description notes compatibility with both FDM (Fused Deposition Modeling) and resin printers. However, the results from these two technologies differ significantly. Understanding this distinction is vital for achieving the desired outcome.
FDM Printers are accessible and cost-effective, making them ideal for larger decorations or durable props. To succeed with FDM, use a smaller nozzle (0.4mm or less) and reduce layer height to 0.12mm or 0.16mm. This reduces the visibility of layer lines, preserving the smooth, cartoonish look. If you must use supports, opt for tree supports, which are easier to remove and leave fewer marks on delicate curves.
Resin Printers, on the other hand, excel at capturing fine details and smooth surfaces. For a Halloween Gummy Candy model, resin is often the superior choice if you aim for a realistic, glossy finish. The high resolution ensures that the charming details mentioned in the file description remain sharp. However, resin printing requires careful handling of toxic materials and thorough post-curing. Always wear protective gear and ensure proper ventilation.
Material Selection for Visual Impact
The term "gummy" implies translucency and color. Standard solid-colored filaments or resins will not convey this effect. To enhance the visual appeal, consider the following material strategies:
- Translucent Filaments: For FDM, choose PLA or PETG variants labeled as "transparent," "clear," or "glow-in-the-dark." These materials allow light to penetrate the model, creating depth.
- Colored Resins: In resin printing, transparent colored resins are widely available. Mixing a drop of dye into clear resin can also achieve custom shades, allowing you to match specific Halloween themes like pumpkin orange or slime green.
- Post-Processing Coatings: Regardless of the printer type, applying a clear gloss varnish or epoxy coating can simulate the wet, sticky look of real candy. This step transforms a matte plastic print into a convincing confectionery prop.
By selecting materials that mimic the physical properties of gummy candy, you elevate the project from a simple plastic object to a thematic centerpiece.
Evaluating the Digital File Before Printing
Before hitting "print," take a moment to inspect the STL file. The disclaimer notes that the design is AI-generated, which means it may contain artifacts or non-manifold edges. Use a mesh repair tool or your slicer’s analysis feature to check for holes or inverted normals. Fixing these issues digitally prevents printing failures later.
Additionally, consider the scale. A gummy candy is typically small, but printing it too small on an FDM printer can result in loss of detail. Test different scales to find the sweet spot where the cartoon features remain distinct without becoming fragile. For resin printers, you can go smaller, but ensure that thin protrusions, such as ghostly tails or candy wrappers, are thick enough to survive cleaning.
Enhancing Your Halloween Creations
Once printed, the Halloween Gummy Candy model can be integrated into various projects. Bloggers and marketers might use them as props for social media content, leveraging their visual appeal to engage audiences during the October season. Educators can use them to teach concepts of 3D modeling and material science, demonstrating how digital designs translate to physical objects.
For entrepreneurs selling seasonal decor, these models offer a low-cost way to produce unique items. However, always verify licensing terms if you plan to sell printed versions. While the file is available for download, commercial use rights may vary.
In conclusion, the key to success with this Halloween Gummy Candy 3D model lies in preparation and attention to detail. By avoiding common mistakes in orientation, support, and material choice, you can create prints that truly capture the sweetly spooky spirit of Halloween. Take the time to experiment with settings, embrace post-processing, and let your creativity guide the final presentation. With the right approach, your October creations will be both visually striking and technically impressive.